
Indoor Air Quality in Coral Springs, FL: How It Affects Your Health
Poor indoor air quality in Coral Springs is common. Homes feel more humid than they should. The AC runs constantly but never feels comfortable. Someone

Poor indoor air quality in Coral Springs is common. Homes feel more humid than they should. The AC runs constantly but never feels comfortable. Someone
Reducing AC bills in Coral Springs during summer is not easy. Older duct layouts, attic heat gain, and poorly tuned systems prevent it. We see
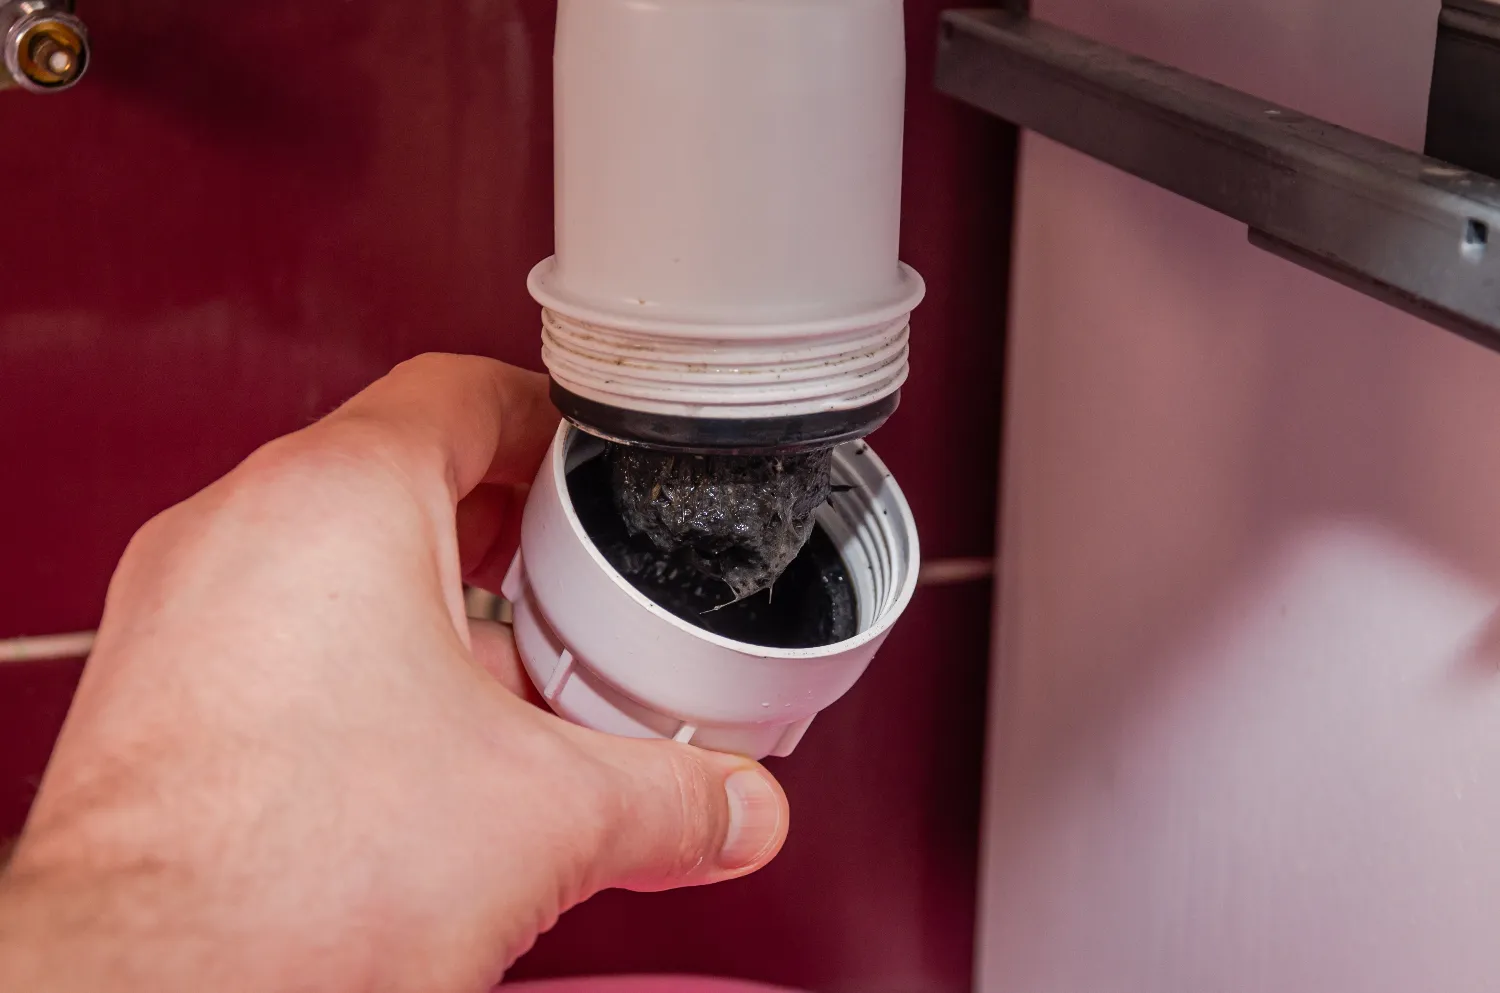
In South Florida, a clogged drain usually does not start as an emergency, but often ends up that way. Waiting too long to call for
Emergency AC repair in Coral Springs is urgent when your unit fails, and outdoor temperatures hit the 90s. High humidity and unsafe indoor conditions can

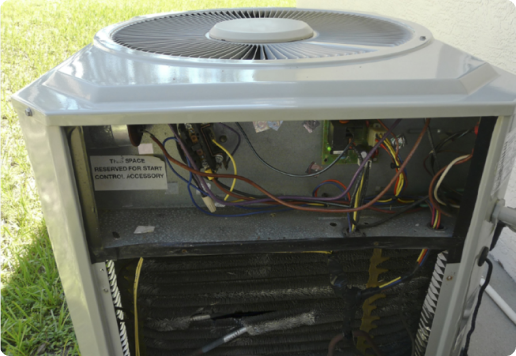
In Coral Springs, deciding whether your system needs repairs or an AC tune-up is rarely a simple yes-or-no decision. Most homeowners call only when something

Cooling systems run nonstop through long South Florida summers. Extreme humidity and sudden weather shifts strain them more than most homeowners realize. Without regular checks

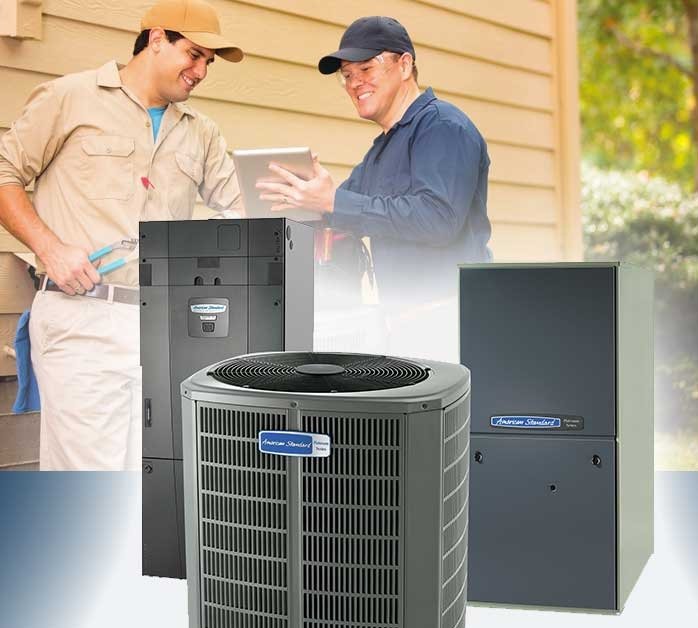
AC installation in Coral Springs isn’t just about hanging a new unit; it’s the difference between a home that feels consistently comfortable and one that
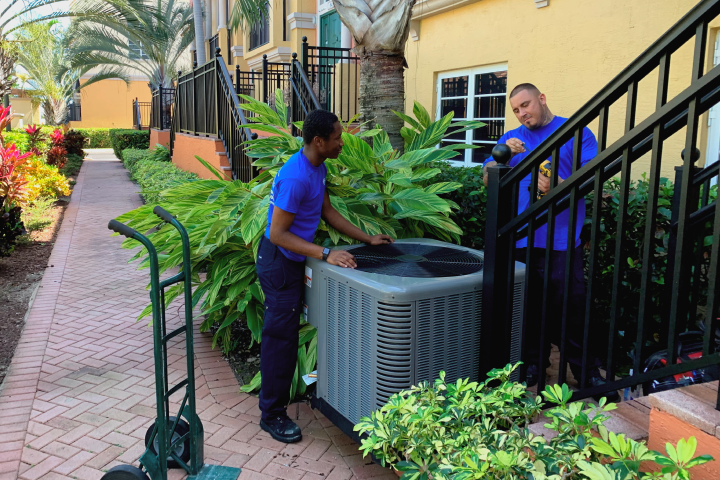
If you’re wondering when to replace the AC in Coral Springs, FL, the answer usually isn’t a single breakdown. As summer approaches, your system runs

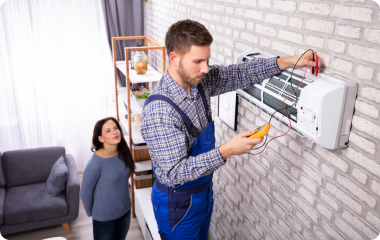
If your AC stops working, the first concern is usually the high repair price. But here’s the reality: AC repair costs in Coral Springs aren’t
AC failure in South Florida cannot be ignored. High humidity, salt air corrosion, and extreme heat can prevent your AC from cooling in Coral Springs.
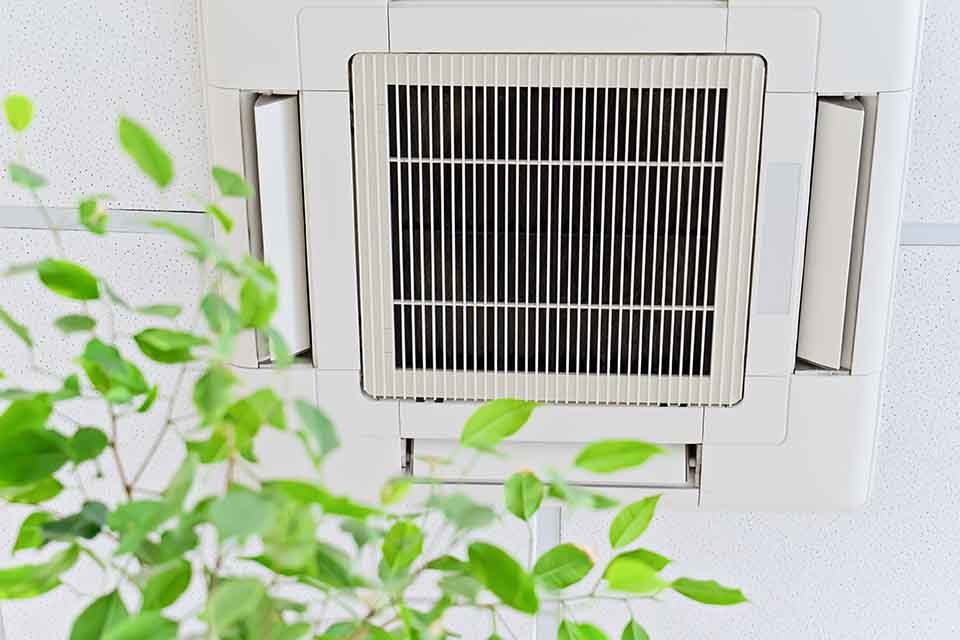
It pays to improve your home or business’ indoor air quality in order to lessen the risk of being exposed to bacteria, viruses, and other
ASK THE RIGHT QUESTIONS TO GET THE BEST AC REPAIR & INSTALL COMPANY FOR THE JOB! At #Air Pros we try to hold ourselves to a higher